


-
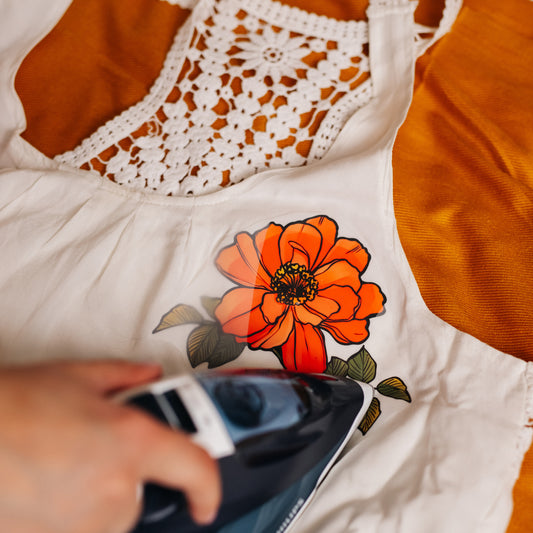
ArtStickly Bügelbilder Blumen A4-Set für Kinder, Erwachsene
Normaler Preis €10,89 EURNormaler PreisGrundpreis pro -
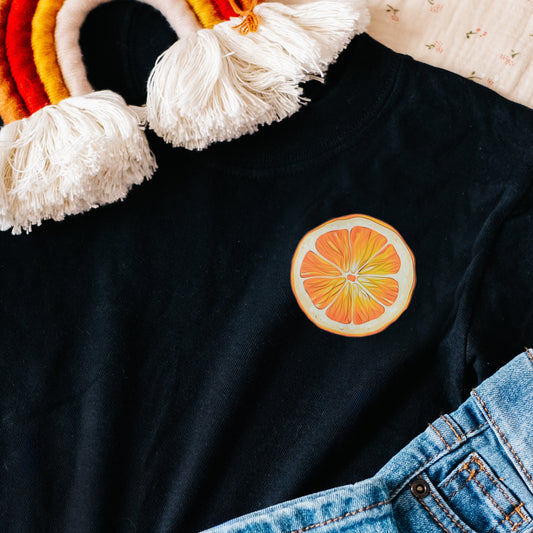
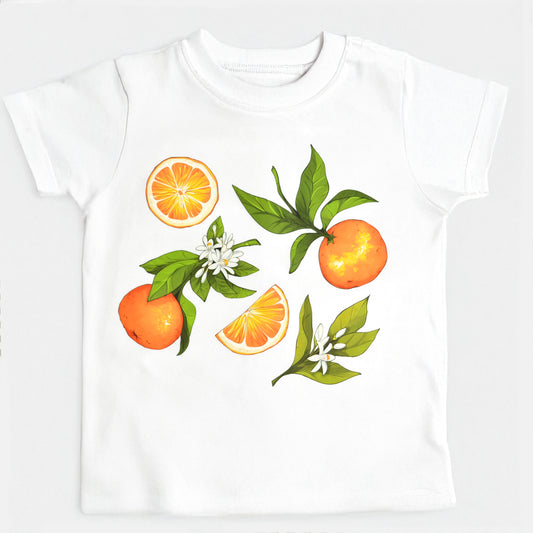
ArtStickly Bügelbilder Orangenhälfte A4-Set für Kinder, Erwachsene
Normaler Preis €10,89 EURNormaler PreisGrundpreis pro -
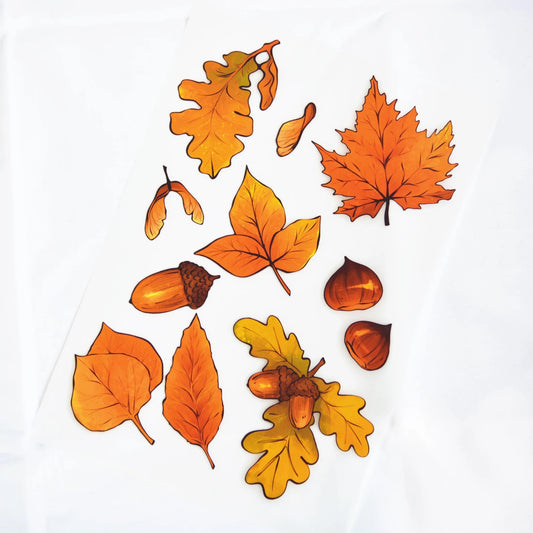
ArtStickly Bügelbilder Herbstblätter A4-Set für Kinder, Erwachsene
Normaler Preis €10,89 EURNormaler PreisGrundpreis pro -
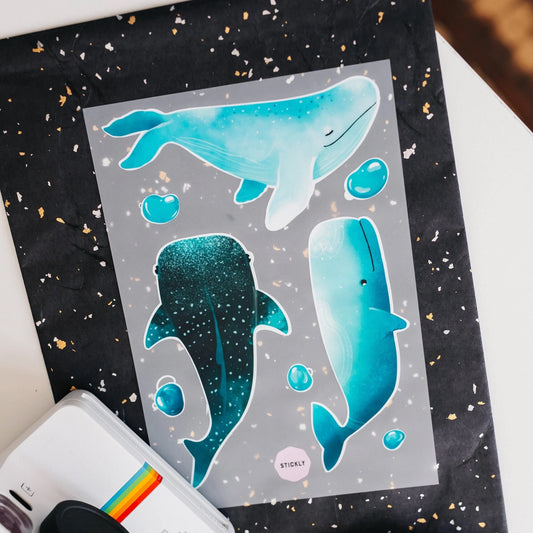
Artstickly Bügelbilder Wale A5-Set, 2 Bögen für Kinder Babys
Normaler Preis €9,89 EURNormaler PreisGrundpreis €4,95 pro item -
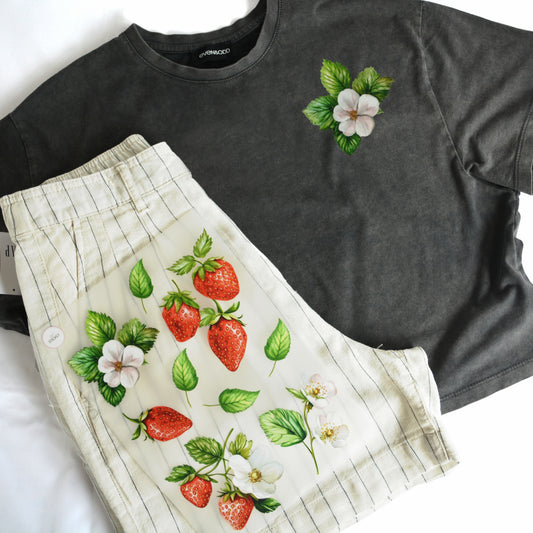
ArtStickly Bügelbilder Erdbeeren A4-Set für Kinder, Erwachsene
Normaler Preis €10,89 EURNormaler PreisGrundpreis pro -
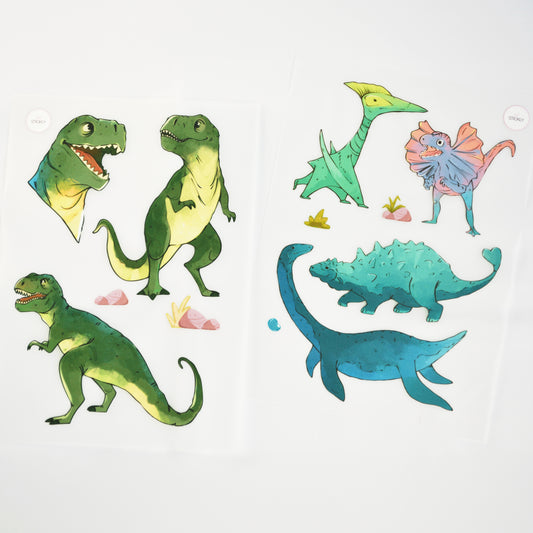
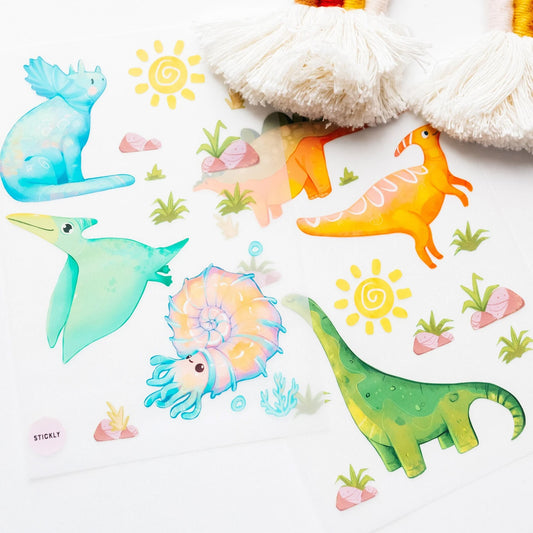
Artstickly Bügelbilder Dino Rex A5-Set für Kinder, Babys
Normaler Preis €9,89 EURNormaler PreisGrundpreis €4,95 pro item -
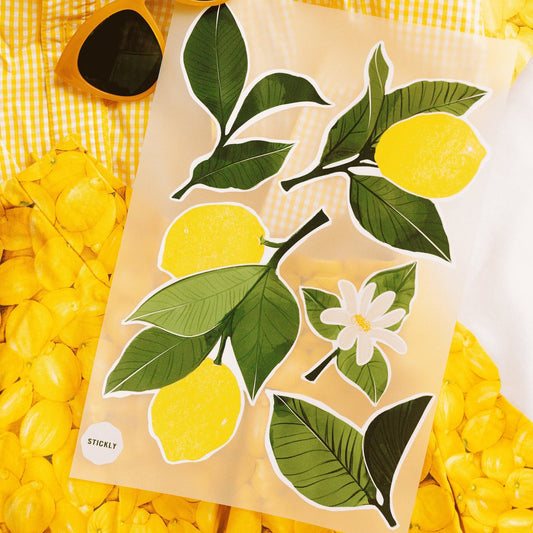
ArtStickly Bügelbilder Zitronen A4-Set für Kinder, Erwachsene
Normaler Preis €10,89 EURNormaler PreisGrundpreis pro -
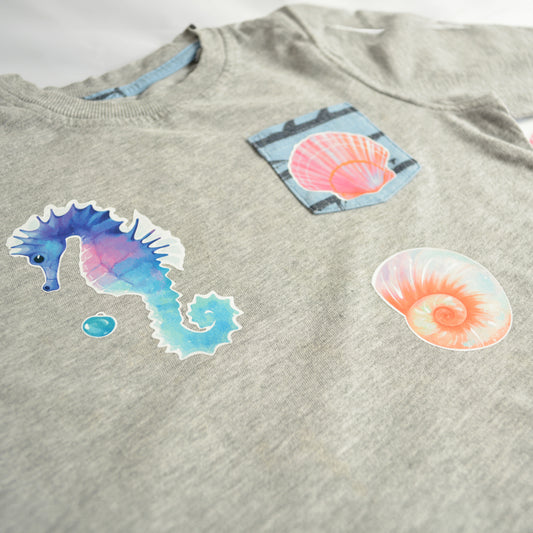
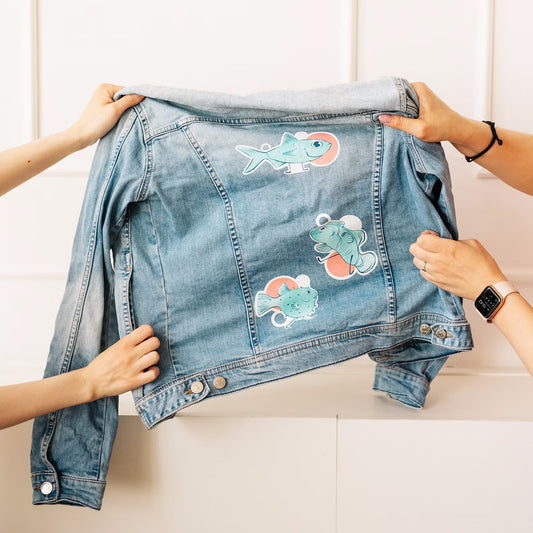
Artstickly Bügelbilder Meerestiere A5-Set, 2 Bögen für Kinder Babys
Normaler Preis €9,89 EURNormaler PreisGrundpreis €4,95 pro item -
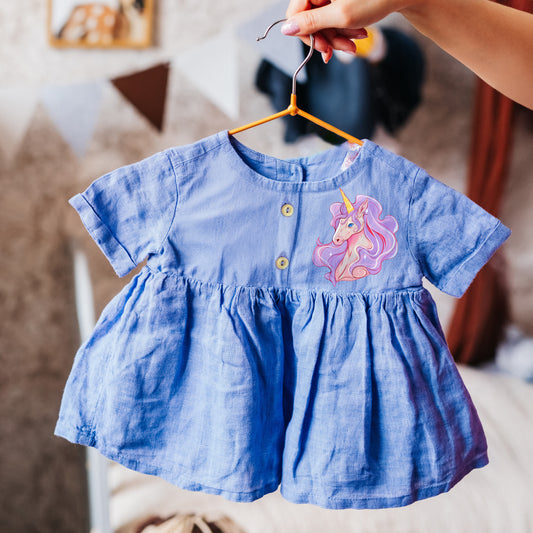
Artstickly Bügelbilder Einhorn A5-Set, 2 Bögen für Kinder, Babys
Normaler Preis €9,89 EURNormaler PreisGrundpreis €4,95 pro item -
Artstickly Bügelbilder Dino A5-Set für Textilien, 2 Bögen für Kinder Babys
Normaler Preis €9,89 EURNormaler PreisGrundpreis €4,95 pro item -
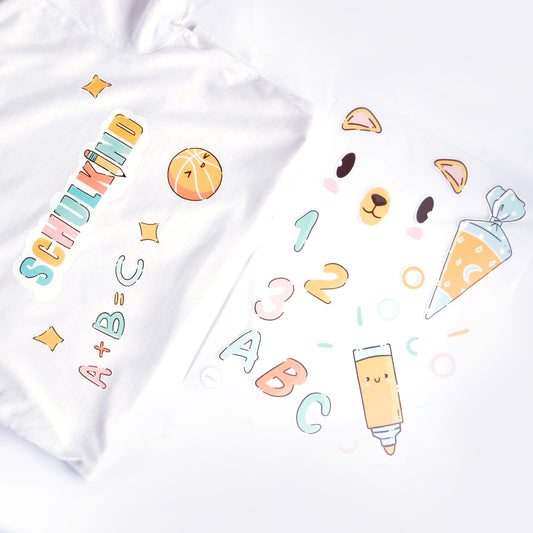
ArtStickly Bügelbilder Schule A4-Set für Kinder, Jungs, Mädchen
Normaler Preis €9,89 EURNormaler PreisGrundpreis pro -
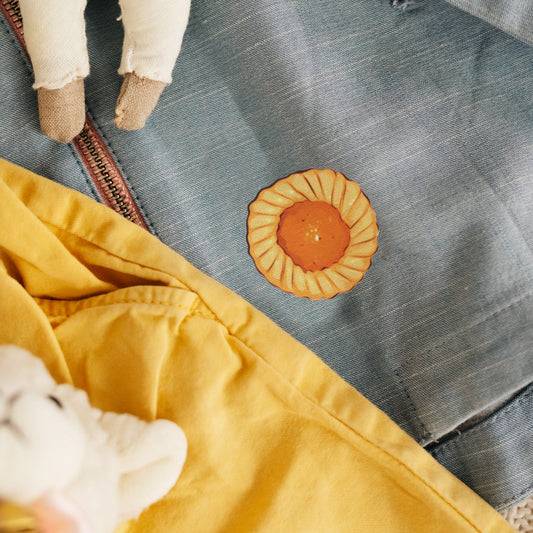
ArtStickly Bügelbilder Leckereien A4-Set für Kinder, Erwachsene
Normaler Preis €10,89 EURNormaler PreisGrundpreis pro -
ArtStickly Bügelbilder Orangen A4-Set für Kinder, Erwachsene
Normaler Preis €10,89 EURNormaler PreisGrundpreis pro -
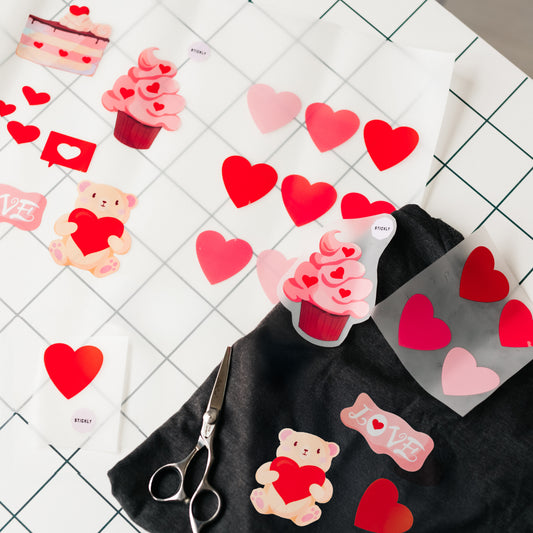
Artstickly Bügelbilder Herzen A5-Set, 2 Bögen für Kinder, Babys
Normaler Preis €9,89 EURNormaler PreisGrundpreis €4,95 pro item -
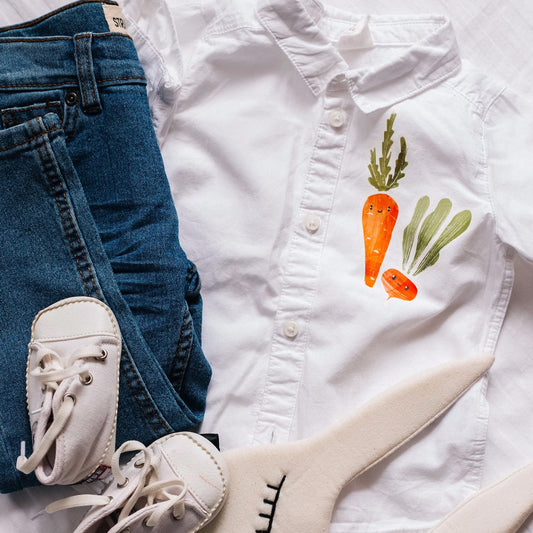
Artstickly Bügelbilder Gemüse A5-Set, 2 Bögen für Kinder, Babys
Normaler Preis €9,89 EURNormaler PreisGrundpreis €4,95 pro item -
Artstickly Bügelbilder Fisch A4-Set für Kinder Babys
Normaler Preis €10,89 EURNormaler PreisGrundpreis €5,45 pro item -
Artstickly Bügelbilder Masken A5-Set für Textilien, 2 Bögen für Kinder, Familie, Erwachsene
Normaler Preis €9,89 EURNormaler PreisGrundpreis €4,95 pro item -
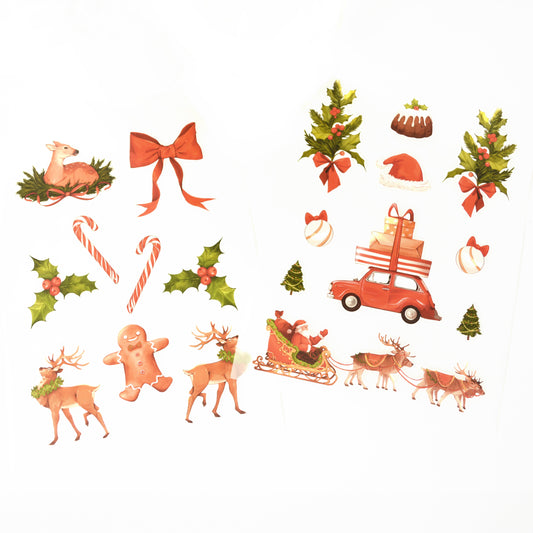
Artstickly Bügelbilder Weihnachten A5-Set, 2 Bögen für Kinder, Familie
Normaler Preis Von €9,89 EURNormaler PreisGrundpreis proArtstickly Bügelbilder Weihnachten A5-Set, 2 Bögen für Kinder, Familie
Normaler Preis Von €9,89 EURNormaler PreisGrundpreis proArtstickly Bügelbilder Weihnachten A5-Set, 2 Bögen für Kinder, Familie
Normaler Preis Von €9,89 EURNormaler PreisGrundpreis pro -
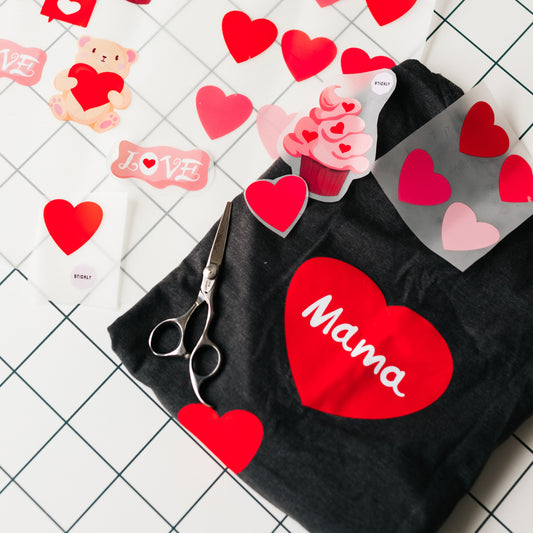
Bügelbilder Mama, Papa, Mini Herzen, A4-Set für Kinder, Erwachsene
Normaler Preis €10,89 EURNormaler PreisGrundpreis pro -
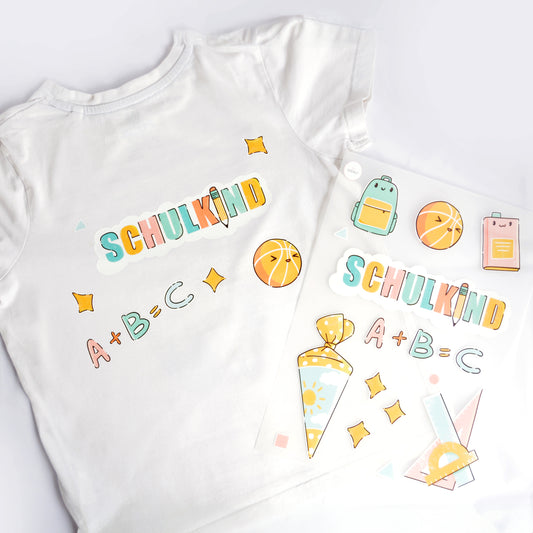
ArtStickly Bügelbilder Schulkind A4-Set für Kinder, Jungs, Mädchen
Normaler Preis €9,89 EURNormaler PreisGrundpreis pro


-
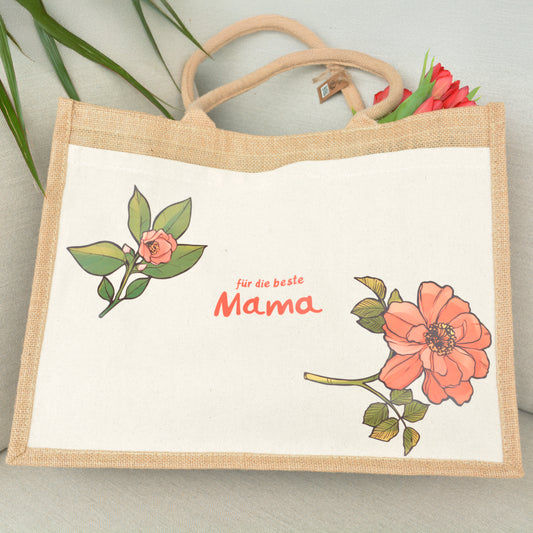
Artstickly Beschriftete Jutetasche mit Blumen als Geschenk für Damen, Mama, Mutter
Normaler Preis €15,89 EURNormaler PreisGrundpreis pro -
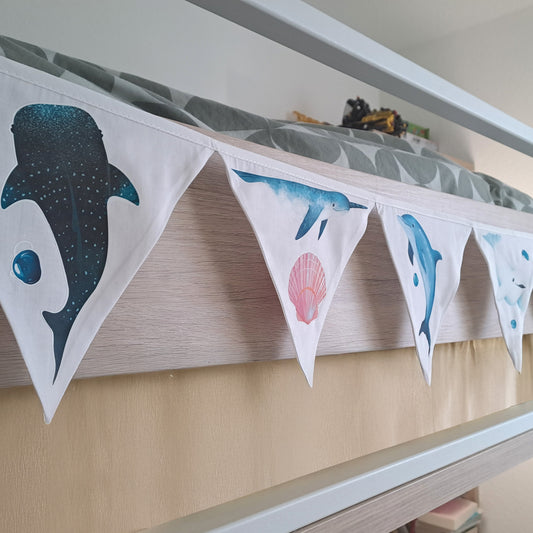
Artstickly Wimpelkette, Stoffgirlande 3 m aus Baumwolle mit Maritim Design
Normaler Preis €11,89 EURNormaler PreisGrundpreis pro -
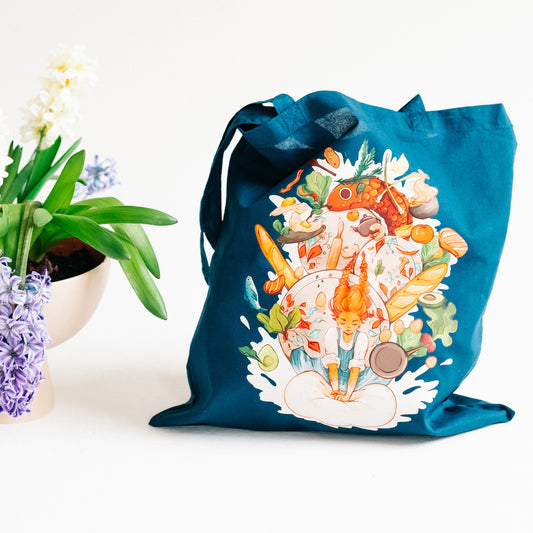
Artstickly Canvas Tasche, Beutel aus Baumwolle Kochspaß in schwarz oder blau
Normaler Preis €9,89 EURNormaler PreisGrundpreis pro -
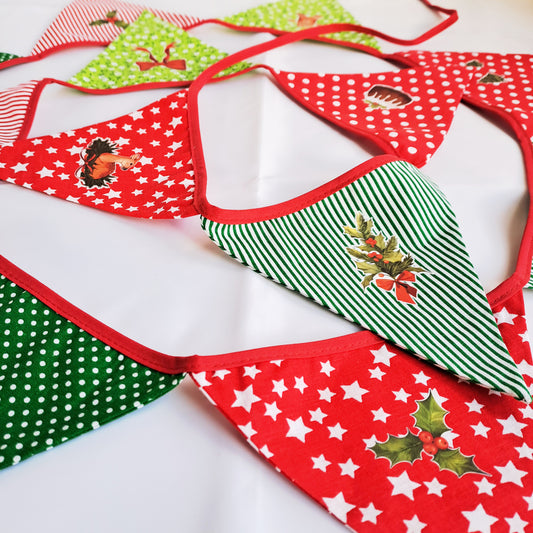
Artstickly Wimpelkette, Stoffgirlande 3 m aus Baumwolle mit Weihnachtsmotiven
Normaler Preis €11,89 EURNormaler PreisGrundpreis pro -
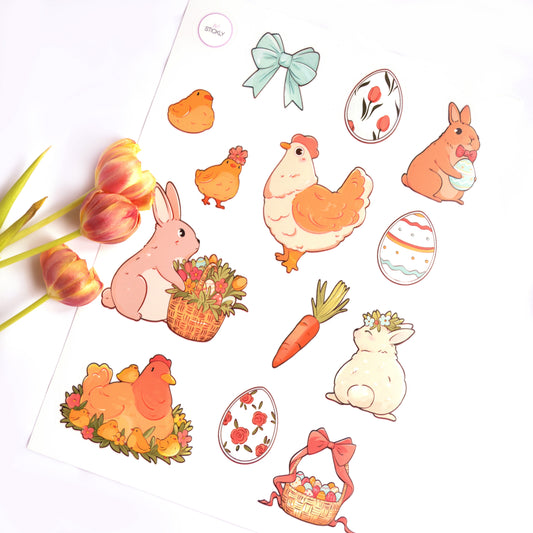
Artstickly Fensterbilder Ostern A4-Set mit Hühnern, Küken, Osterhasen, Ostereiern
Normaler Preis €7,78 EURNormaler PreisGrundpreis €3,89 pro item


-

Kostenloser Versand
Innerhalb Deutschlands senden wir dir deine Bestellung kostenlos zu.
-

Nachhaltiger Druck
Wir drucken deine Lieblingsprodukte nachhaltig in Deutschland.
-

Waschtest bestanden
Auch nach mehreren Waschgängen bei max. 40 °C bleibt die Qualität erhalten.

Schön, dass du da bist!
Ich bin Lana, die Gründerin von Artstickly. Gemeinsam mit meinen Freunden illustrieren wir alle Motive liebevoll für euch.
Anschließend nutzen wir nachhaltige Drucktechnologien, um unsere Inspirationen für deine Kleidung oder dein Zuhause mit dir zu teilen.
Ich freue mich über deinen Besuch und dein Interesse! :)